The correct installation steps of the extraction bracket:
1. First of all, you may need a screwdriver or other tools to complete the installation process. If you want to install the HDD into the computer case, first open the case and find a suitable position in the case to install the HDD extraction bracket. Usually, there will be pre-designed slots or brackets at this position.
2. Secondly, connect the SATA data cable and power cable of the HDD on the extraction bracket to ensure stable connection. To place the HDD on the extraction bracket, it is usually necessary to fix the HDD on the bracket with screws. Ensure that the HDD is firmly fixed on the bracket.
3. Next, if you have installed the HDD on the extraction bracket, now install the whole bracket on the corresponding slot or bracket of the chassis to ensure that the bracket is firmly installed.
4. Finally, connect the data cable and power cable of the HDD extraction bracket. Close the chassis and test whether the HDD works properly to ensure that all connections are firm. Then close the chassis and package the chassis cover.
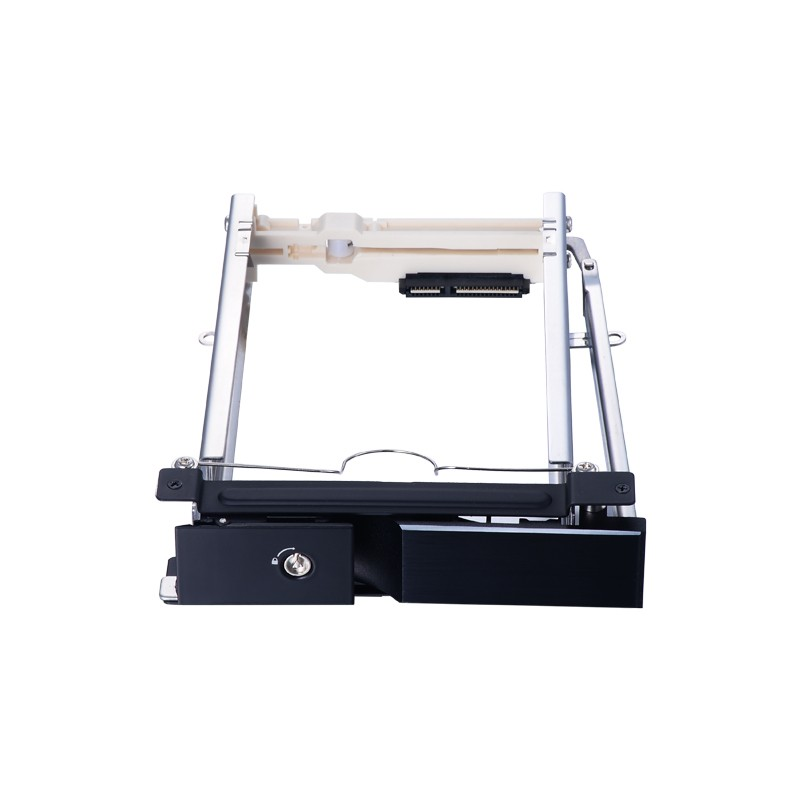
Why did you choose this 3.5-inch HDD extraction bracket of Unestech?
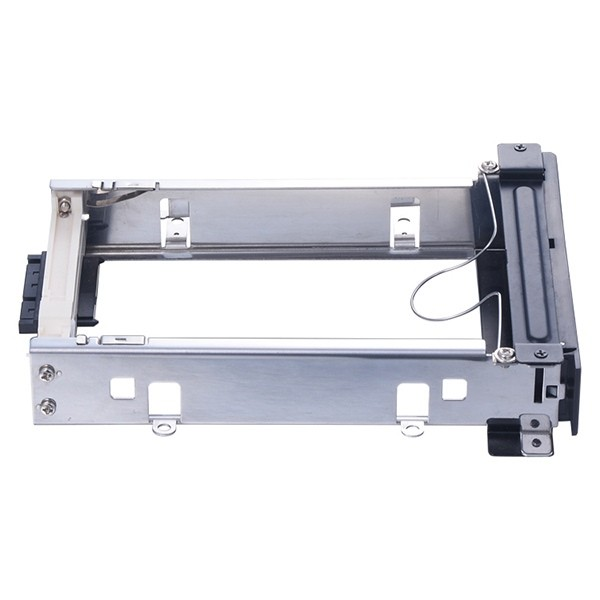
1. The appearance is fashionable and simple. The door set is made of aluminum alloy, as well as stainless steel bracket. The design of metal guide plate + guide line ensures durability and long service life.
2. Supports all 3.5-inch SATA HDD to ensure that your HDD can be perfectly matched.
3. Supports SATA transmission rate of 6Gbp/s to ensure that you can transmit data as fast as possible.
4. The safety lock is designed to prevent HDD from misoperation and supports side-mounted installation HDD.
5. Support hot-swap, HDD fast extraction mechanism, fast replacement of HDD in three seconds, no need to close the PSU.
6. Applicable to security, copying machine, player, HD set-top box......
 telephone
 Contact US